

Deploy a Node.js app from Nigeria
Step-by-step guide to deploying a Node.js app on OneBit Deploy — a Heroku alternative for Nigeria. No dollar card needed; pay in naira via Paystack with no FX markup.
OneBit Deploy is a Platform-as-a-Service built for Nigerian developers. You push to GitHub and OneBit builds and runs your app — billing is in naira via Paystack, so there is no dollar card requirement and no exchange-rate markup.
This tutorial walks you through deploying a Node.js app from scratch in under five minutes.
Prerequisites
- A GitHub account with your Node.js repository already pushed to it.
- A free account at deploy.onebit.ng.
Your repository must include a package.json with a start script, for example:
{
  "scripts": {
    "start": "node index.js"
  }
}
OneBit auto-detects Node.js projects, so no platform-specific config file is required.
Step 1 — Sign up and open your apps
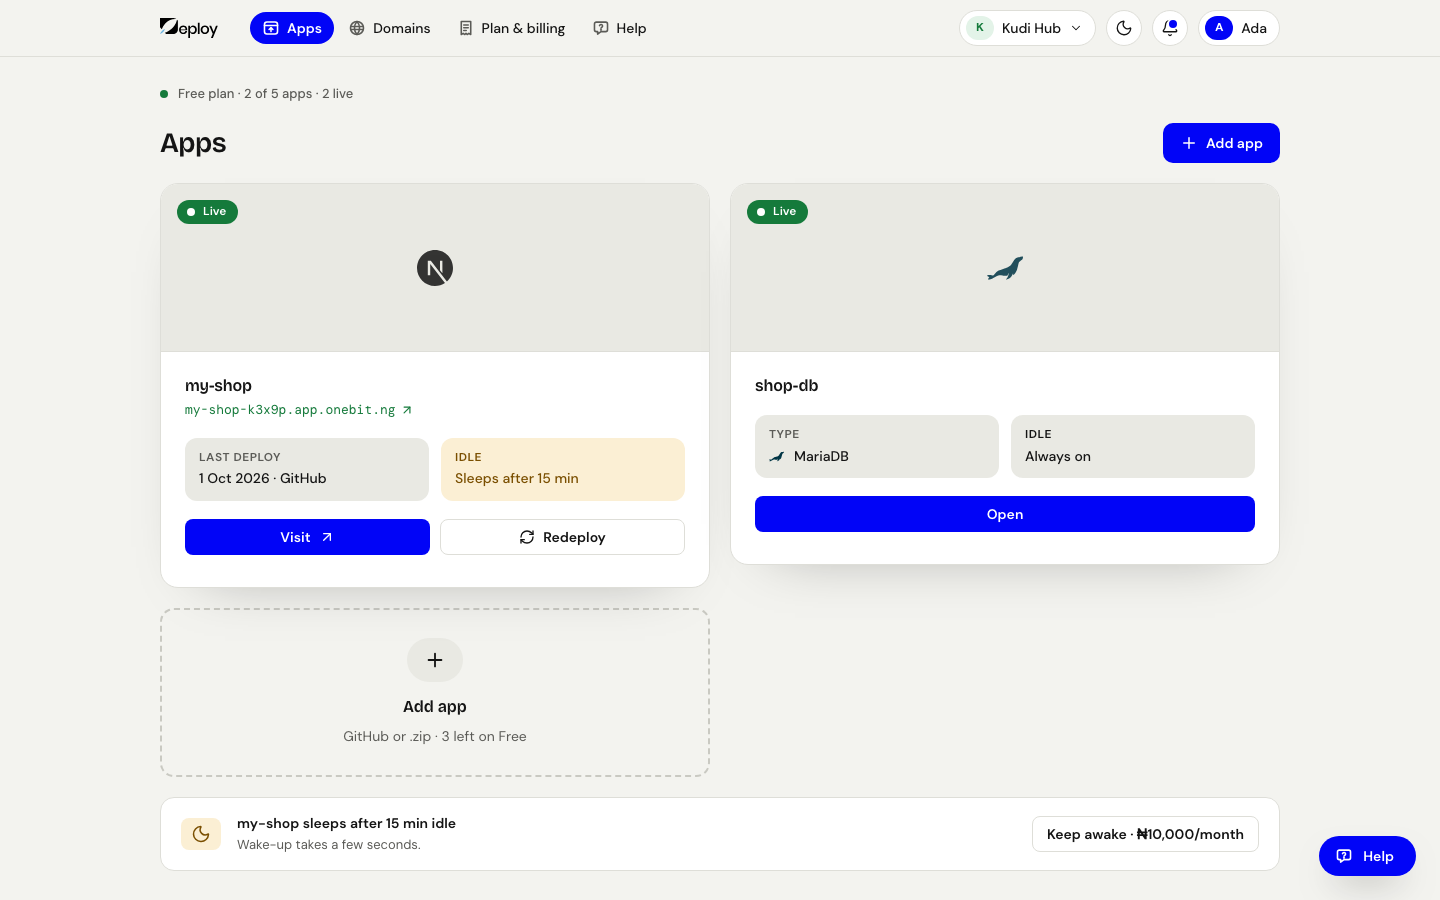
Create a free account at deploy.onebit.ng. You will land on Apps, where all your apps live.
Step 2 — Add an app
On Apps, press Add app. There is no type to choose: the console works out that your project is a Node.js app — Express, Fastify, Koa, or a plain HTTP server.
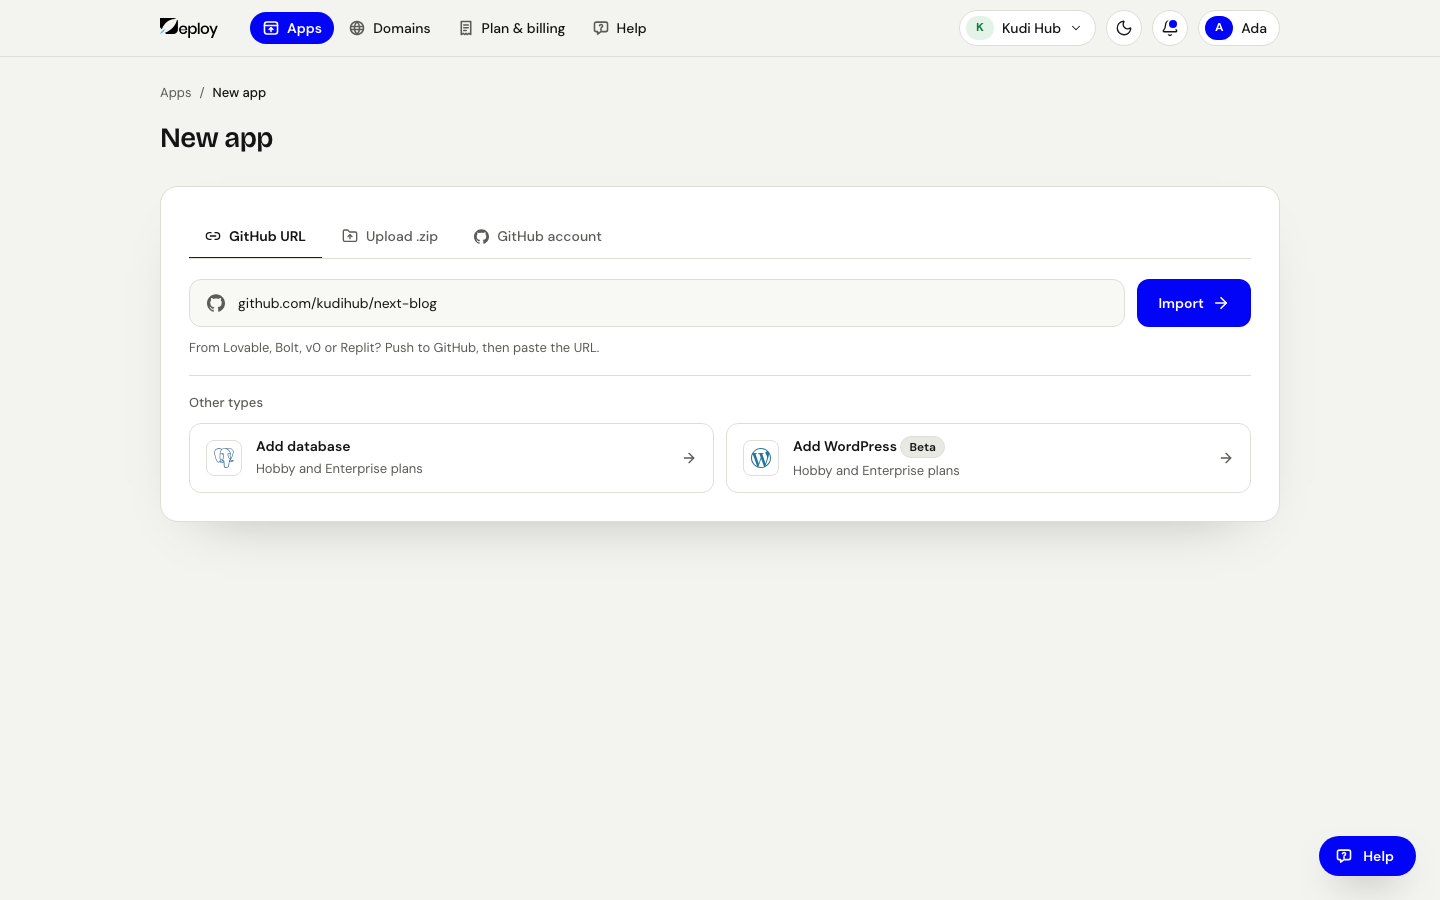
Step 3 — Connect your GitHub repository
Open the GitHub account tab and press Connect GitHub. OneBit installs a lightweight GitHub app that lets it read your repositories and listen for pushes.
Pick the repository, choose the Branch (usually main or master)
and press Import.
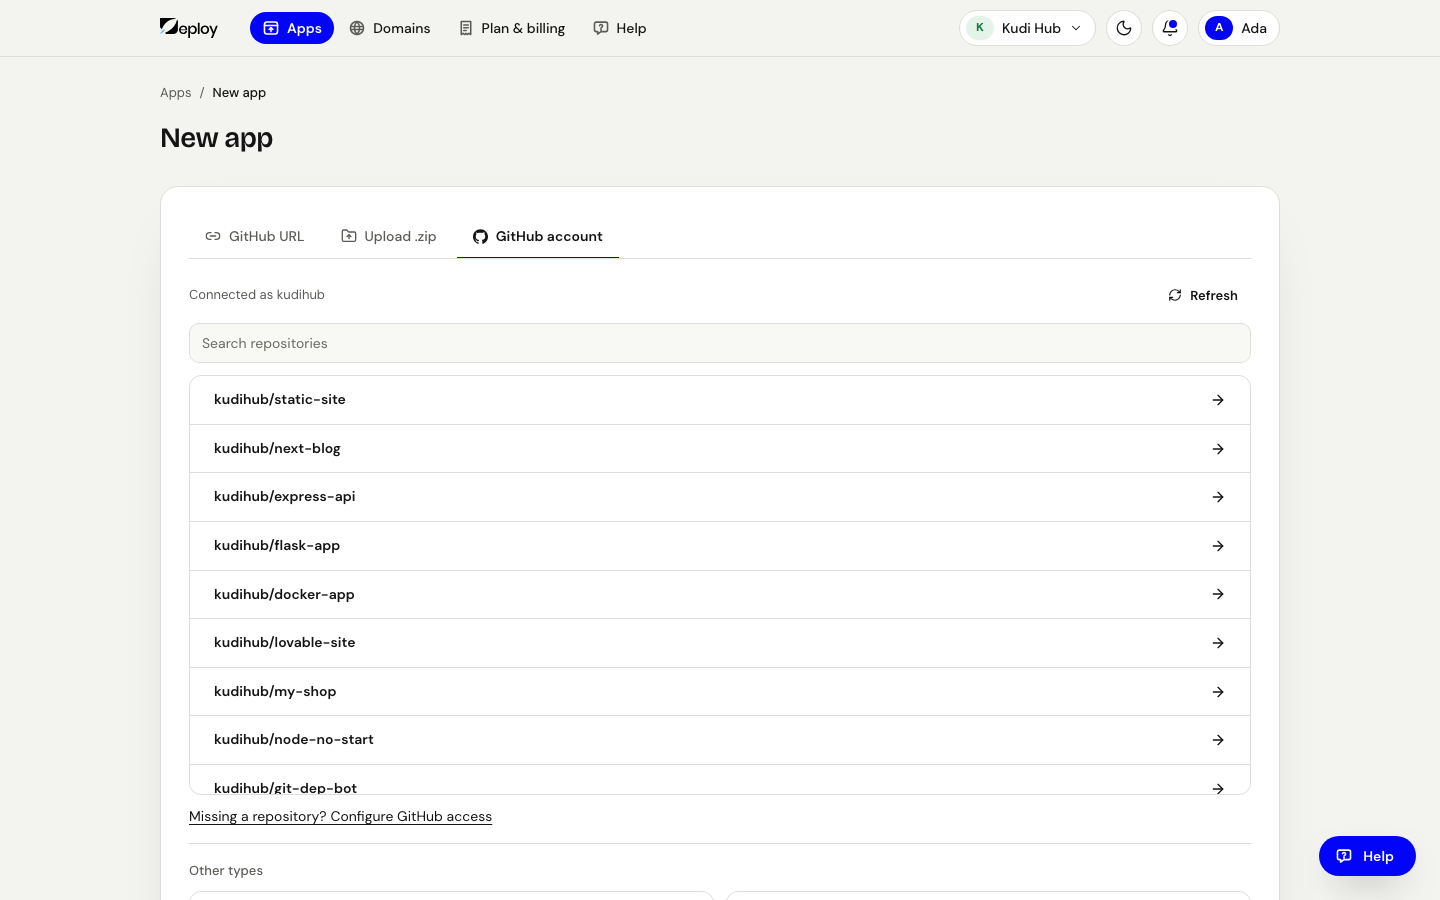
OneBit only requests access to the repositories you explicitly select — it does not get broad access to your entire GitHub account. See GitHub app for the full list of permissions.
Step 4 — Configure the build
OneBit auto-detects Node.js ("A Node.js app.") and fills in sensible defaults:
- Build command —
npm install(ornpm ci) - Start command — pulled from the
startscript in yourpackage.json
To change them before the first deploy, open Build settings. Add any environment variables your app needs — API keys, database URLs, port numbers — on the app's Environment tab once it exists; saving one restarts the app so it picks the value up.
Step 5 — Pick a plan and put it online
Choose the plan that fits your project (you can move between plans any time on Plan & billing):
| Plan | Price | Good for |
|---|---|---|
| Free | ₦0 | Side projects and demos — the app sleeps after 15 min idle |
| Starter | ₦10,000/month | Always-on for one project — 1 vCPU burstable, 10 GB storage, no managed databases |
| Hobby | ₦30,000/month | Teams, databases, WordPress — always on, 20 apps, 4 GB memory, managed databases and WordPress |
| Enterprise | ₦89,000/month | Bigger workloads, two replicas — 12 GB memory, 75 GB storage, 2 replicas per app |
Prices exclude 7.5% VAT, added at checkout.
Check the Name and press Deploy. OneBit builds a container image from your source, then starts it on a public HTTPS URL.
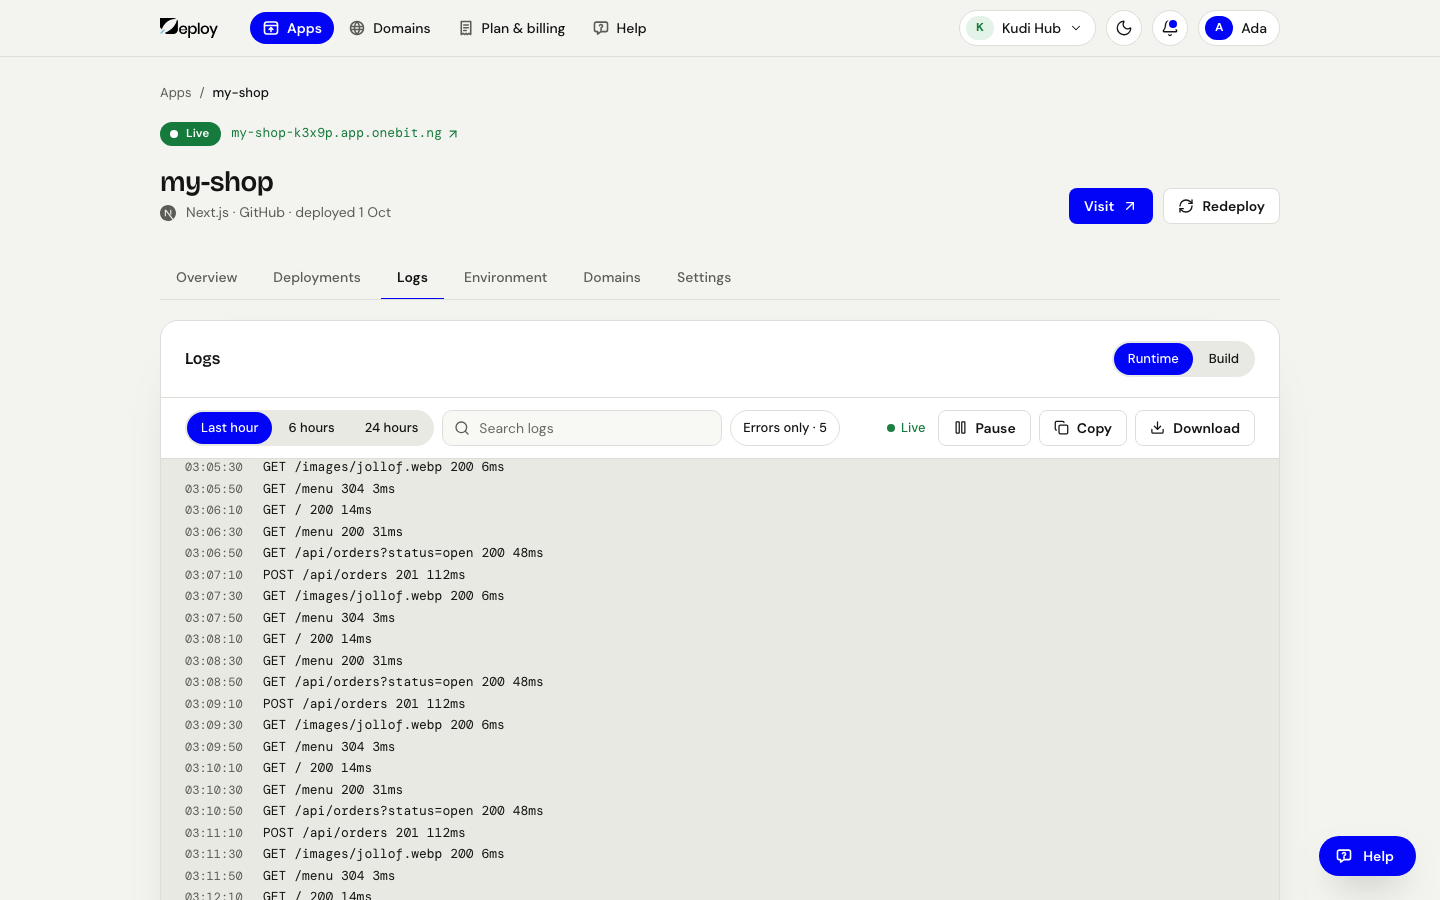
Watch the build output in the app's Logs tab under Build — when it is done the app shows Live and its live URL.
Step 6 — Your app is live
Once the build finishes, your Node.js app is running on a public URL with automatic HTTPS. Every subsequent push to the connected branch triggers a new deploy automatically — no manual steps required.
Add a custom domain from your app's Domains tab at any time. OneBit provisions an SSL certificate automatically. See Custom domains & SSL.
Why Nigerian developers choose OneBit Deploy
Pay in naira, no dollar card needed. Billing runs through Paystack in NGN. There is no FX fee, no exchange-rate guessing, and no surprise charges in dollars at the end of the month. This alone makes OneBit a practical Heroku alternative for developers in Nigeria.
Zero config for Node.js. OneBit detects your stack and sets up the build automatically. Push your code and it deploys.
Automatic HTTPS. Every app gets a free SSL certificate — no manual certificate management.
Git-driven deploys. Every push to your connected branch triggers a fresh build and deploy. No separate CI setup required.
Live logs and metrics. See what your app is doing in real time in the console: its Logs tab, and Status on its Overview. Dig deeper in Logs & metrics.
Next steps
Tutorials
End-to-end walkthroughs — deploy a Node.js app from Nigeria, and move an existing project off Heroku, Vercel, Render or Railway.
Heroku and Vercel alternatives
Honest comparison of Heroku, Vercel and OneBit Deploy for Nigerian developers — dollar-card friction, FX markup, and when each platform is still the right call.