Quickstart
Deploy your first app to OneBit Deploy from GitHub in about two minutes.
This quickstart walks you from an empty account to a live app. You will need a GitHub account and a repository containing a Node.js or Next.js app (or any static site).
1. Create your account
Sign up at deploy.onebit.ng and start on the Free plan. You will land in the dashboard at code.onebit.ng.

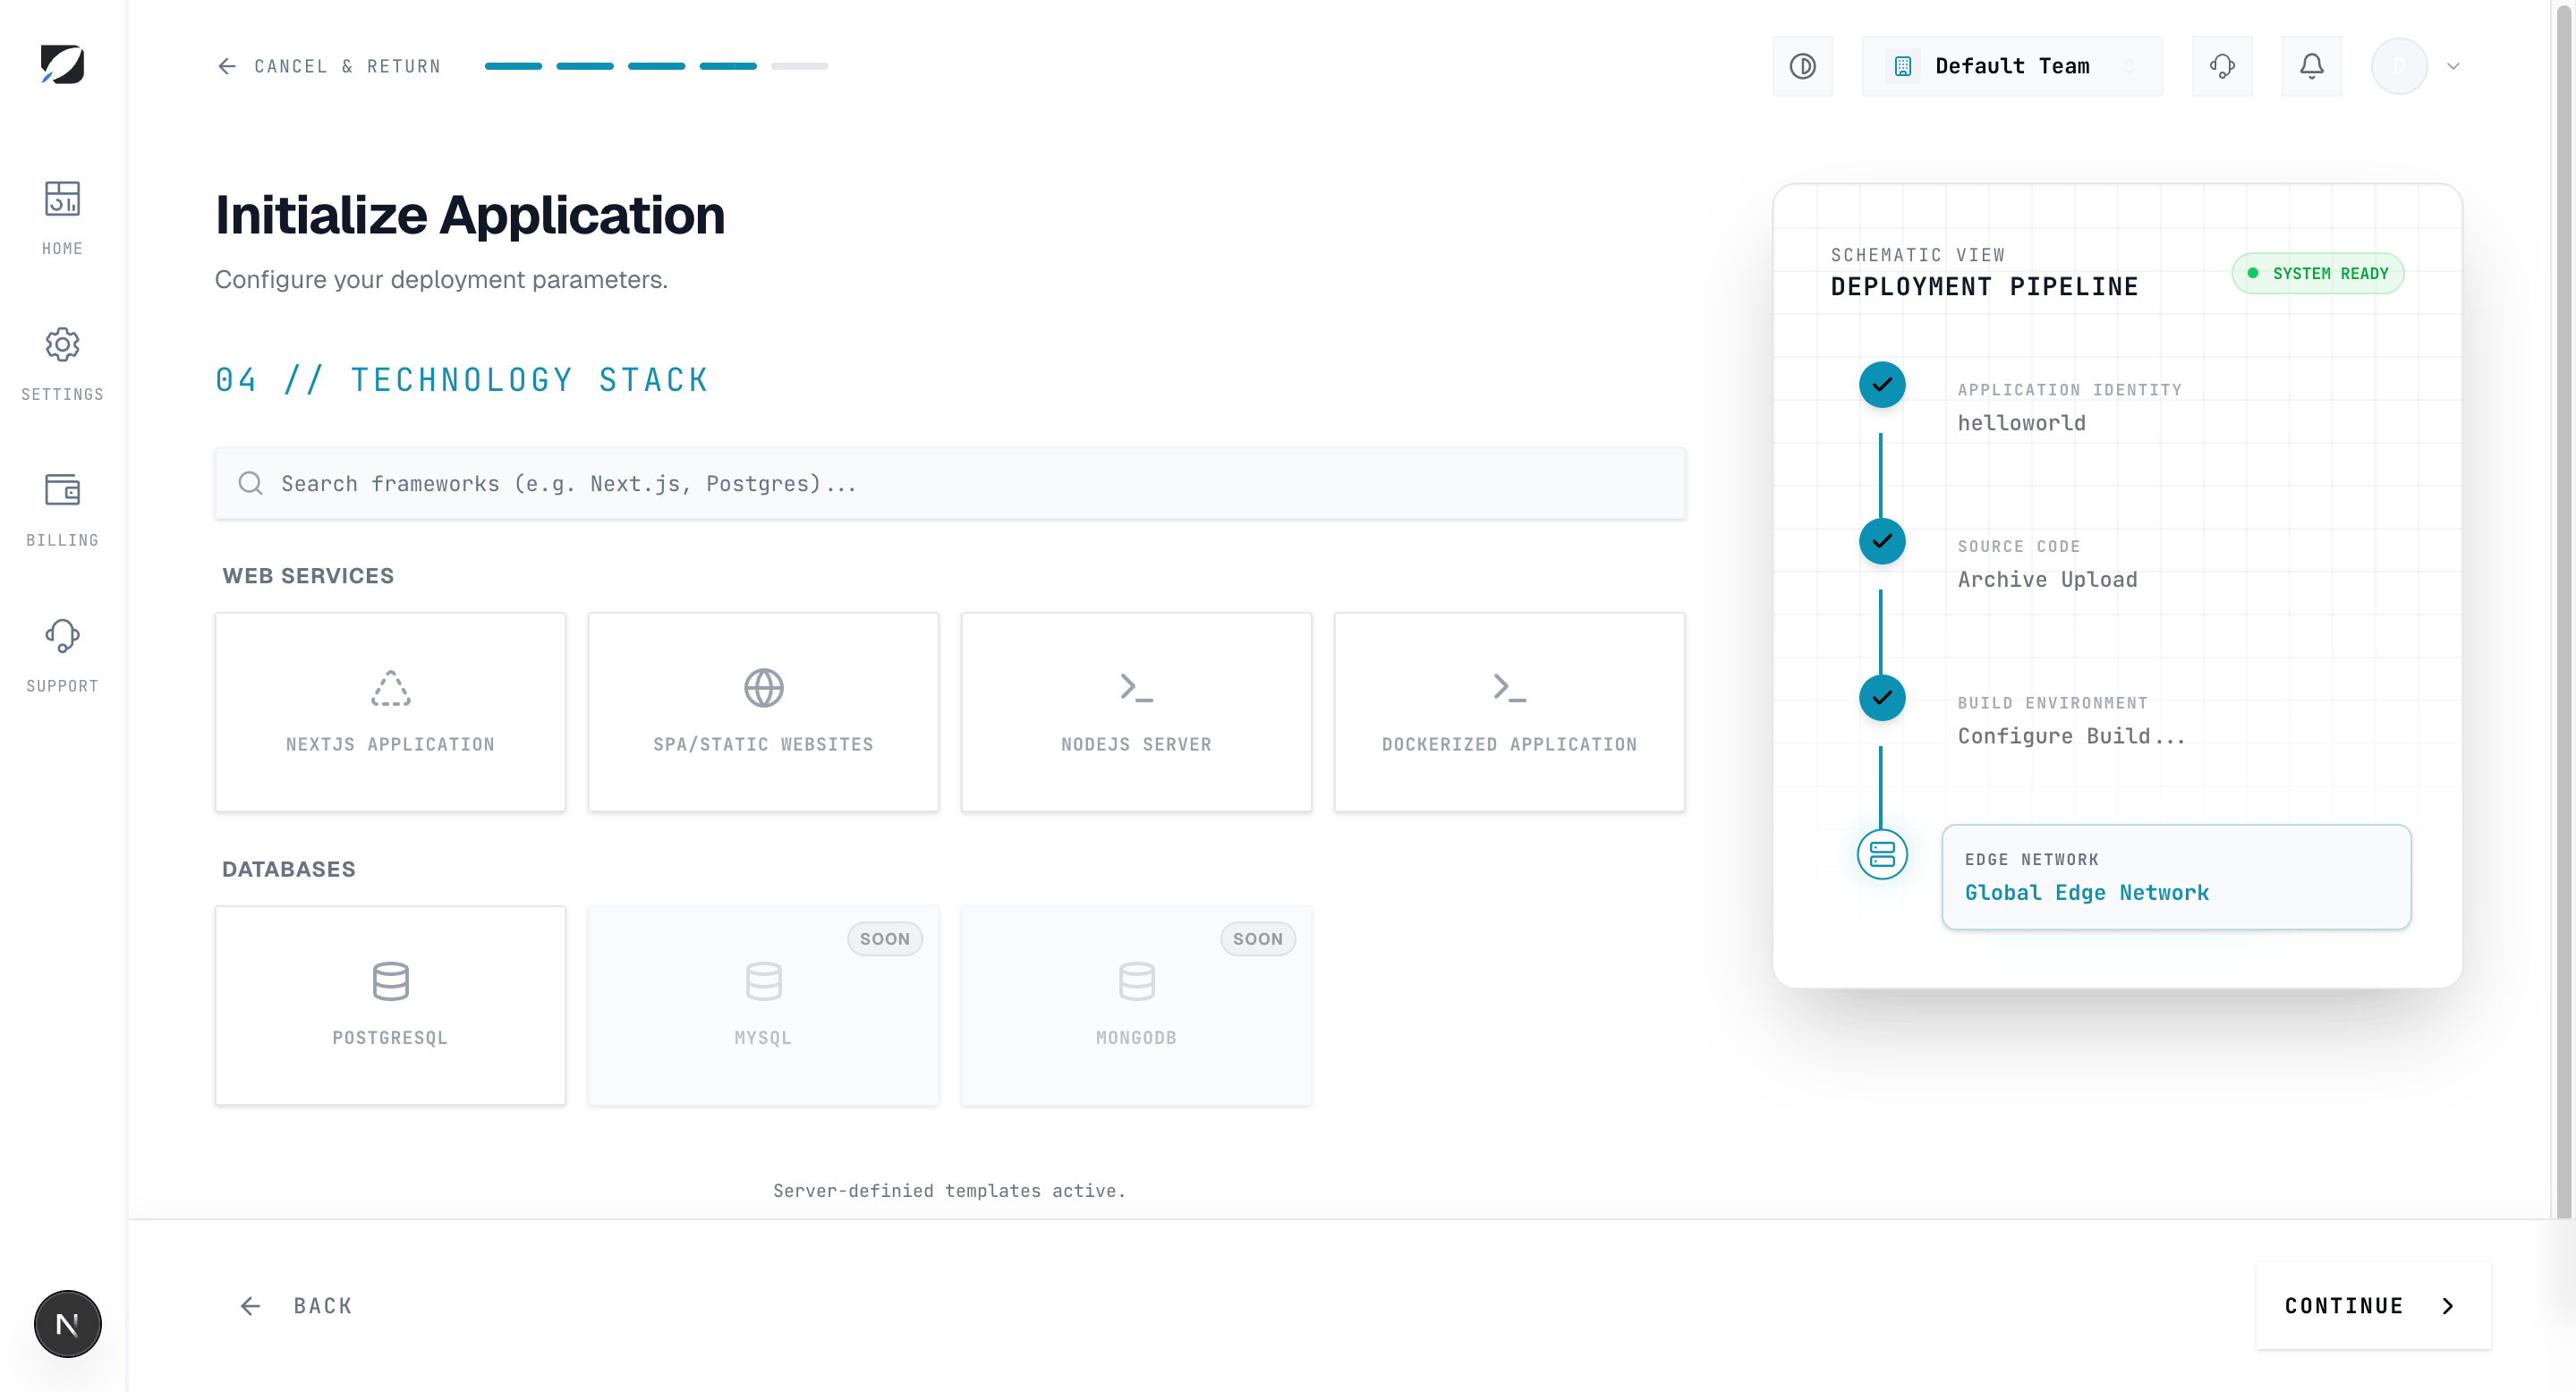
2. Start a new app
Click New and choose what you want to deploy. For your first app, pick a Web service (Node/Next) or a Static site.
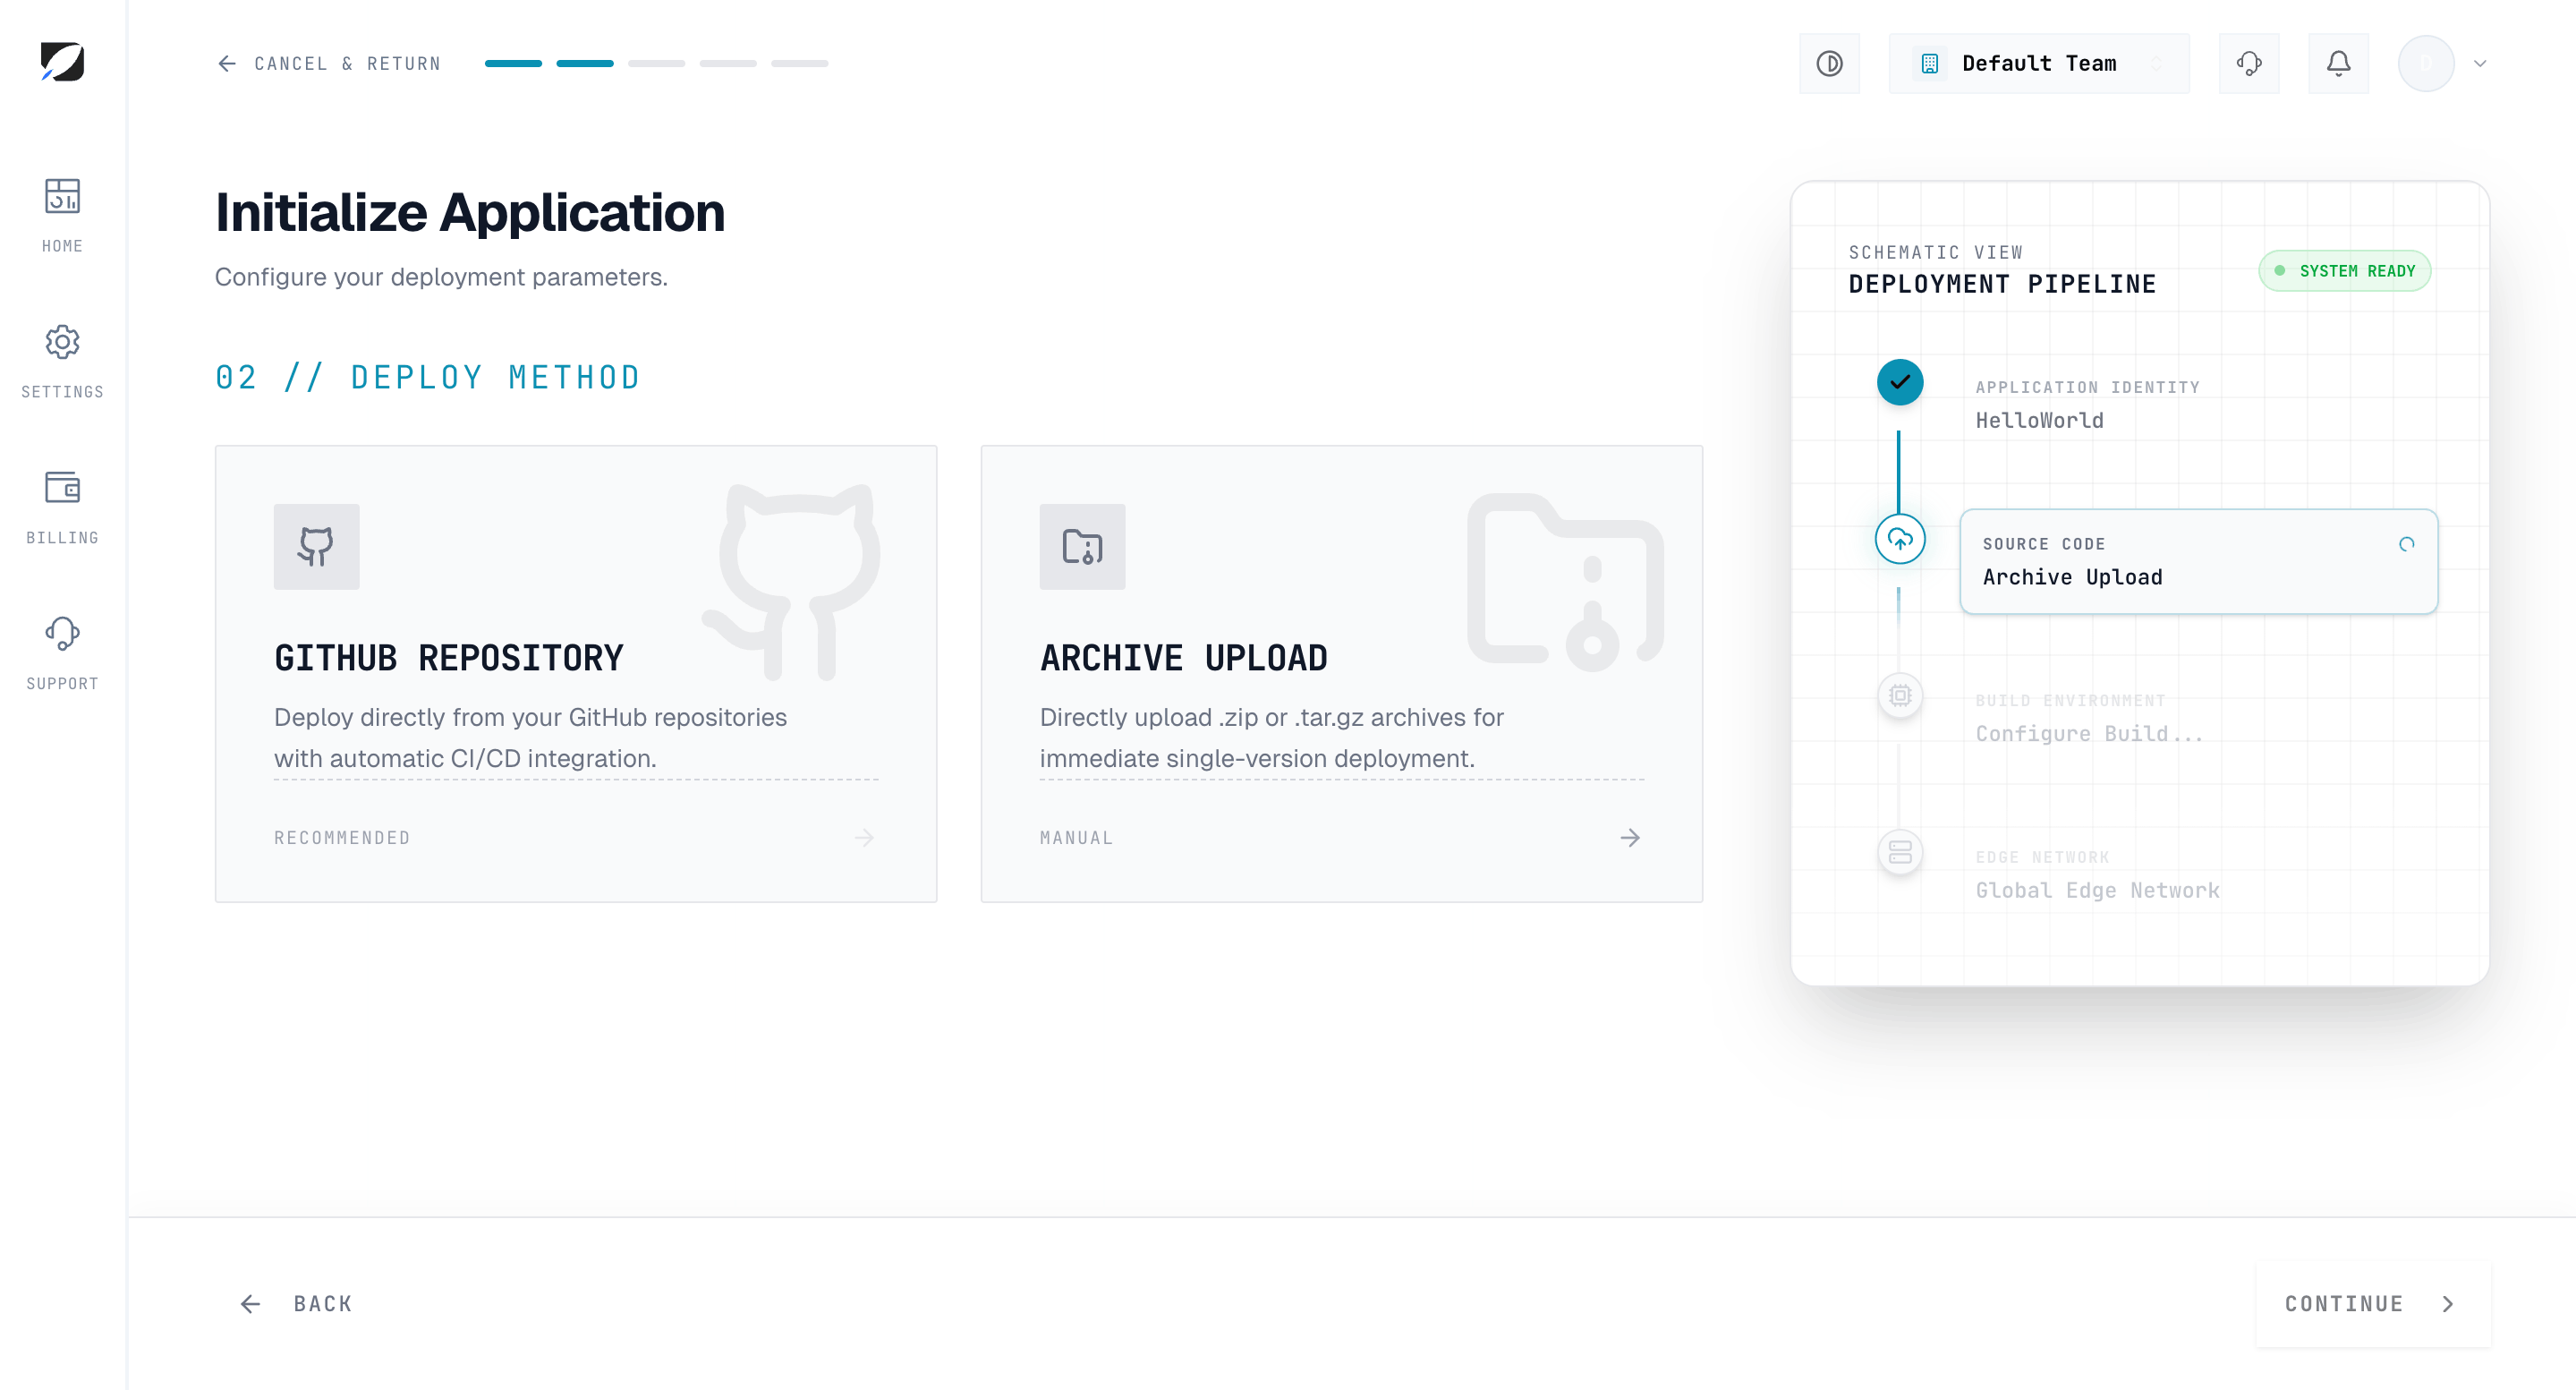
3. Connect your source
Connect your GitHub account and select the repository and branch to deploy. You can also upload a ZIP for a static site instead of connecting GitHub.
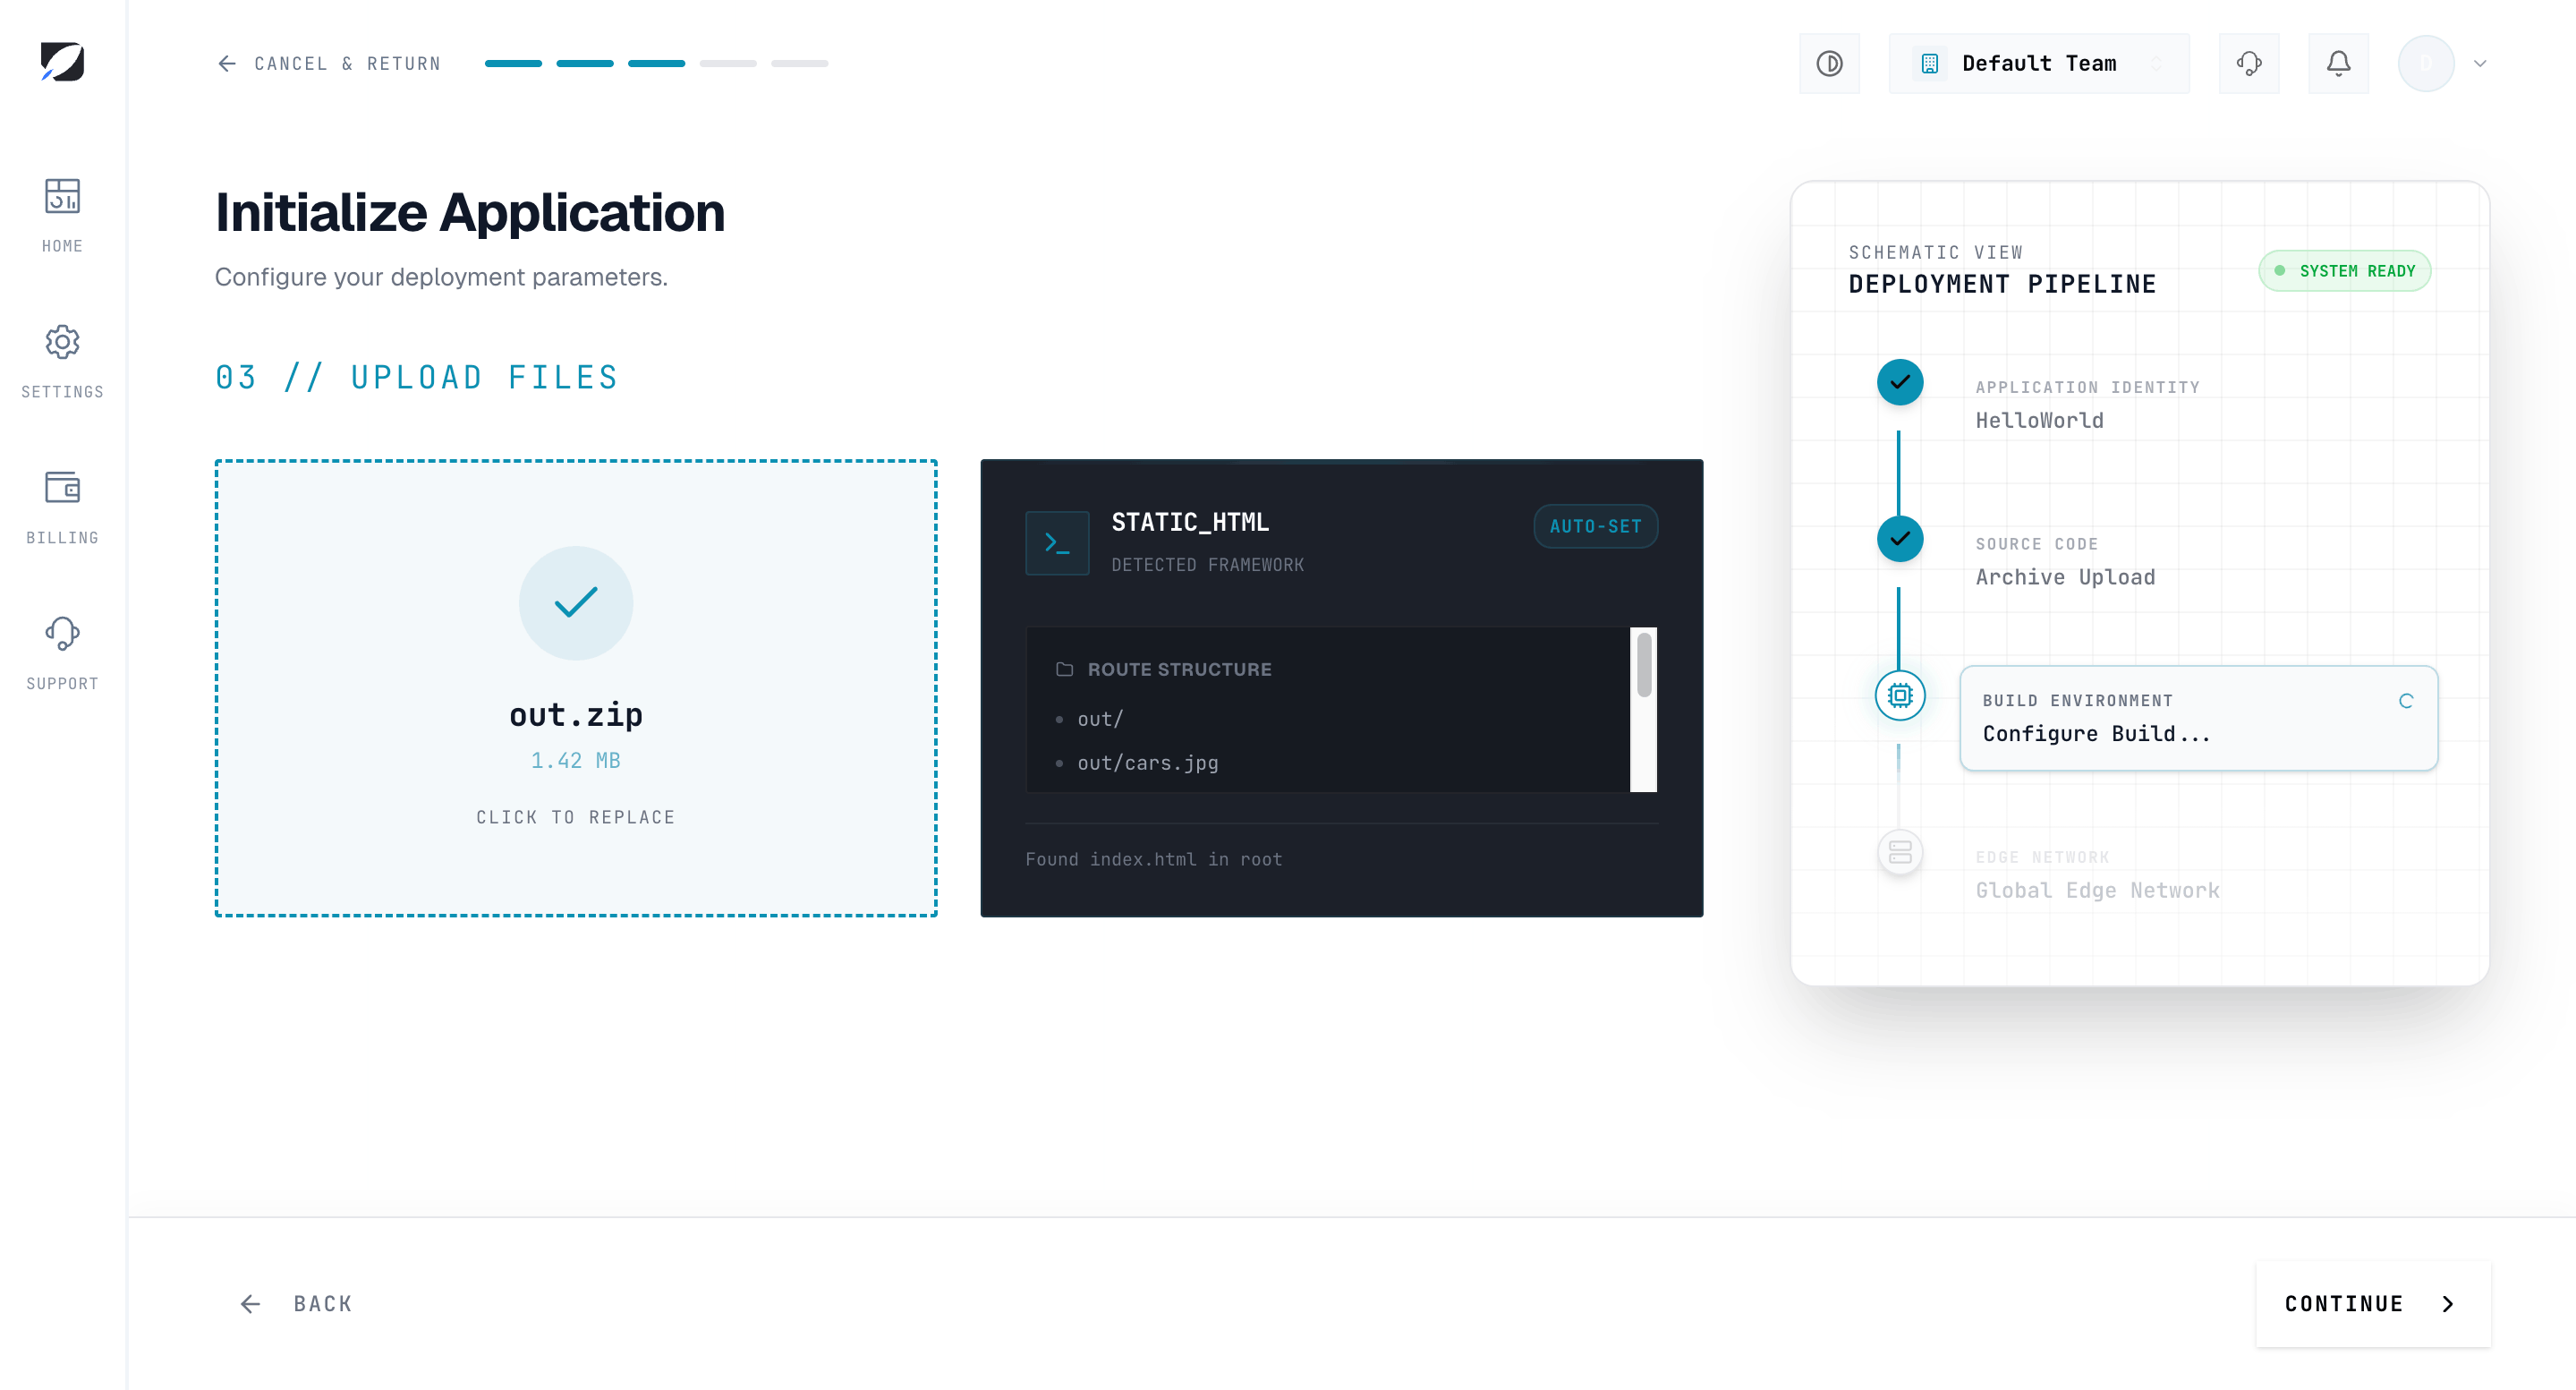
4. Configure the build
OneBit auto-detects Node.js and Next.js projects, so you usually don't need to change anything. Set environment variables here if your app needs them.
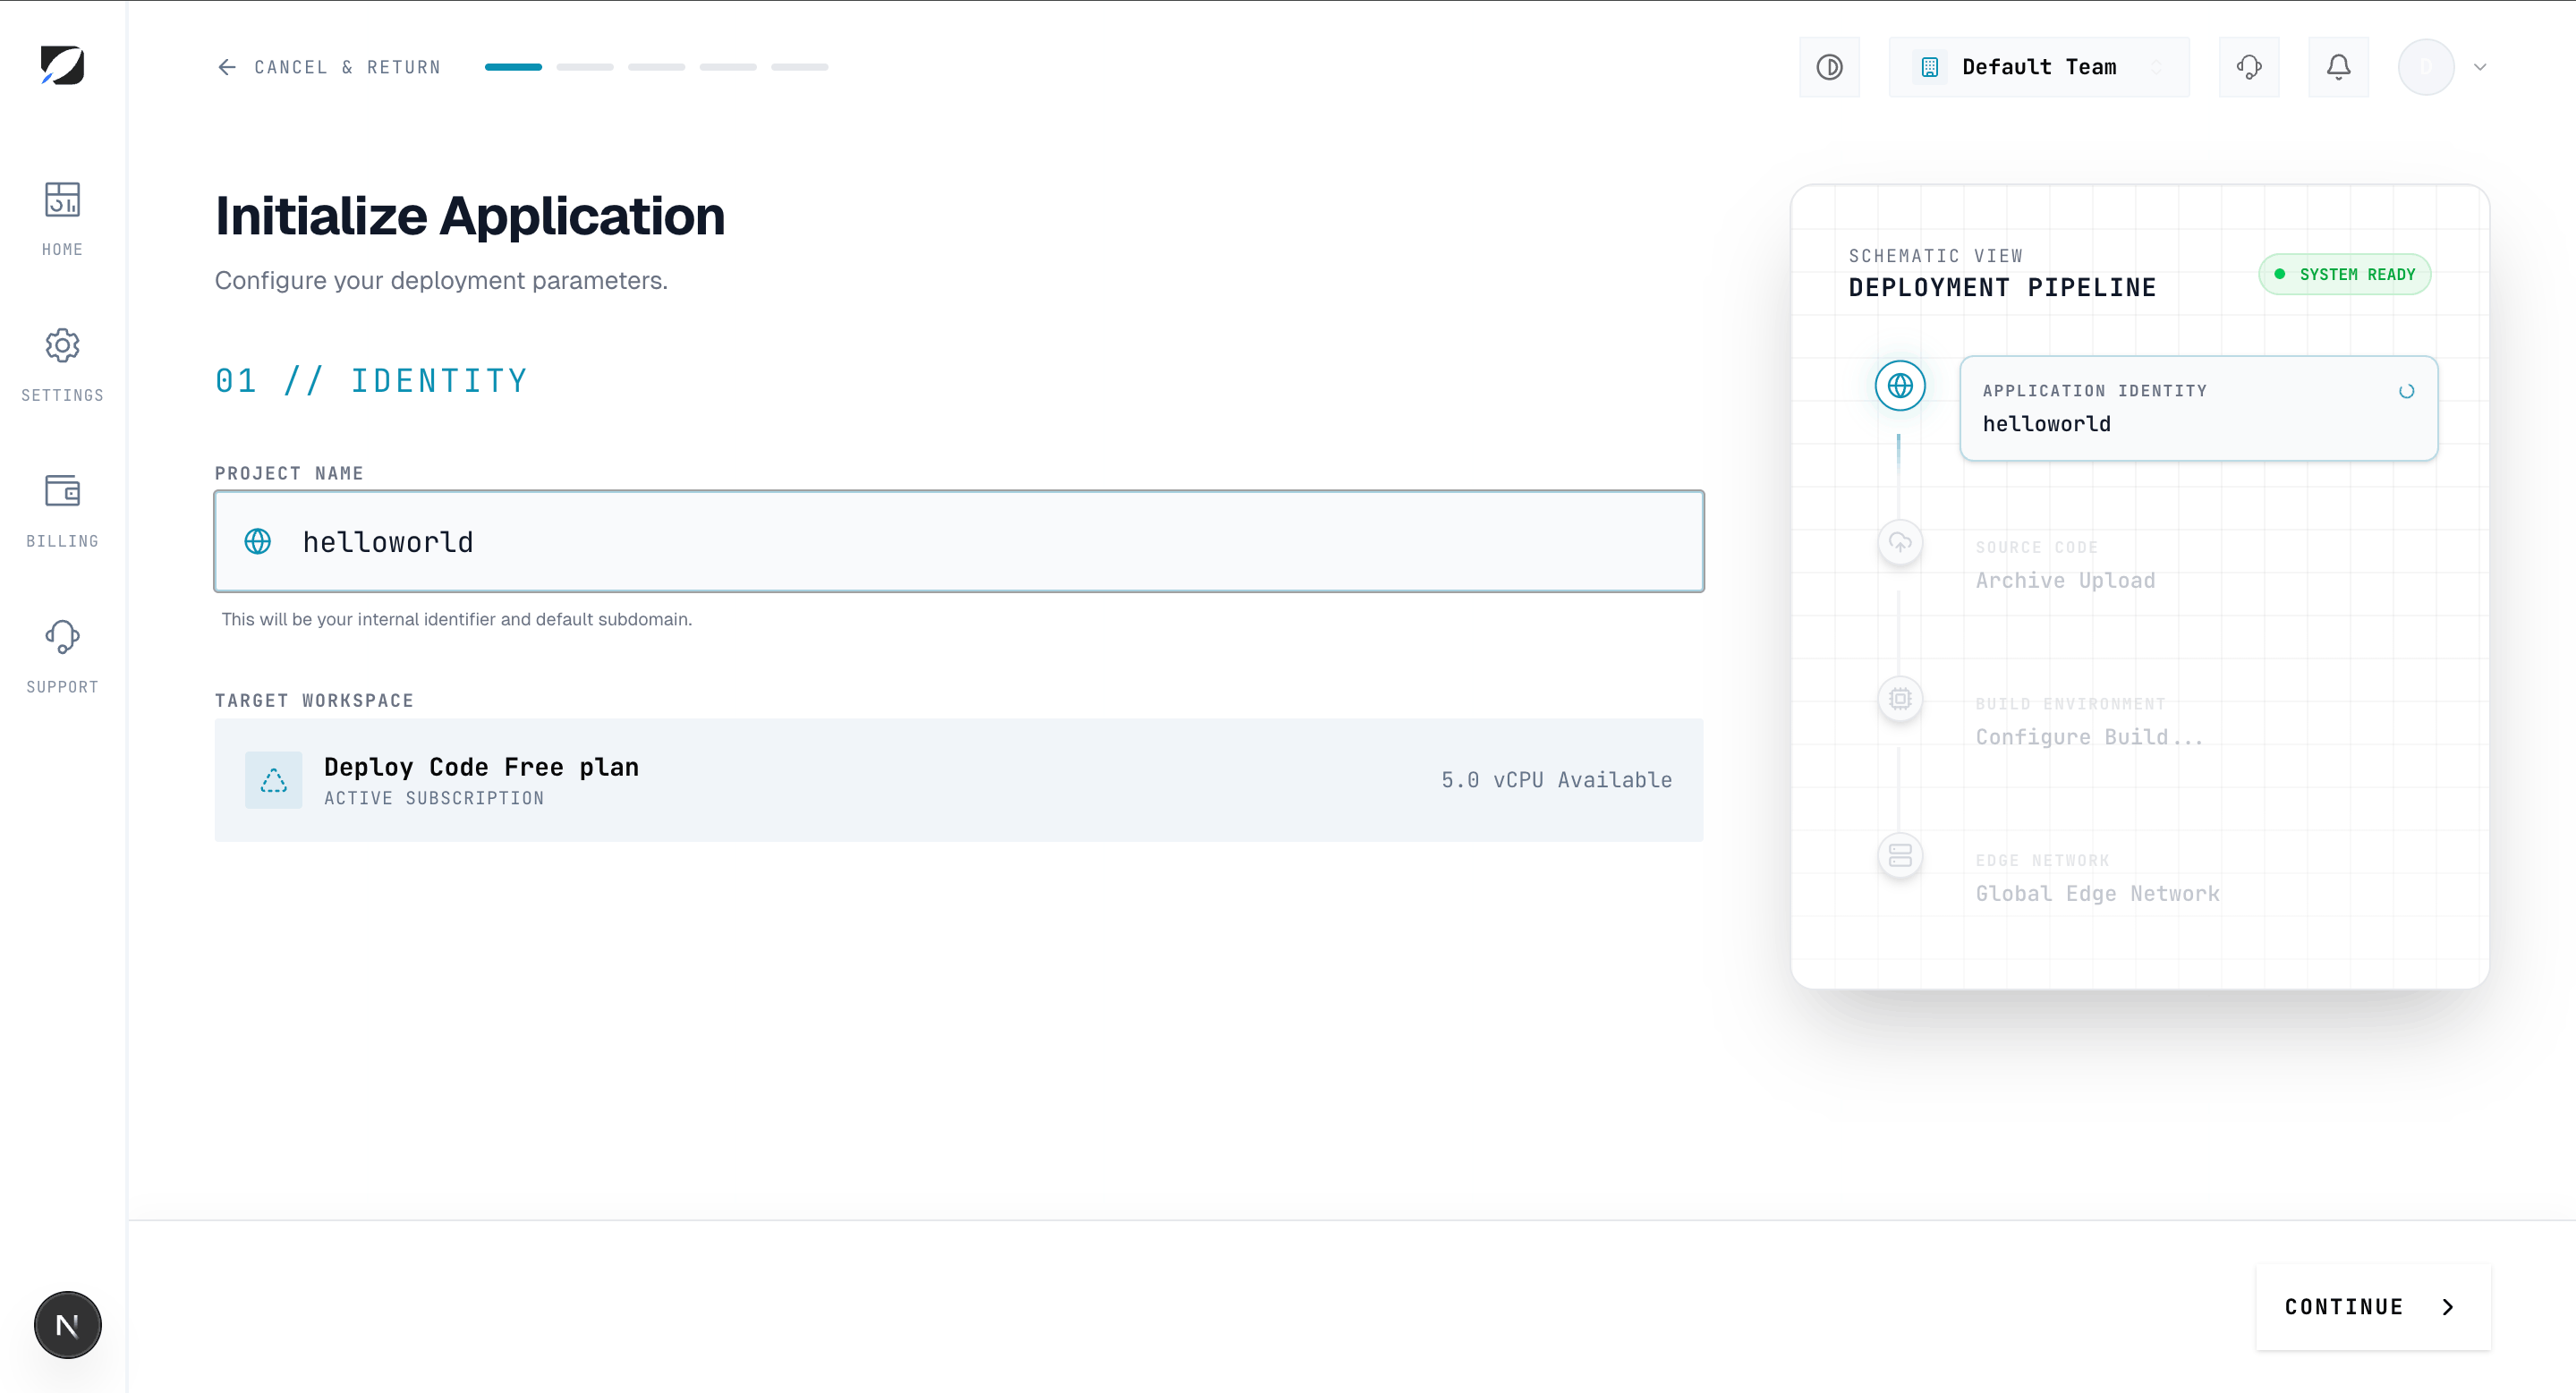
5. Pick a name and resources
Give the app a name and confirm the resources for your plan, then deploy.
6. Go live
OneBit builds your image and starts the app on a public URL with automatic HTTPS. Watch the build and runtime output in Logs.
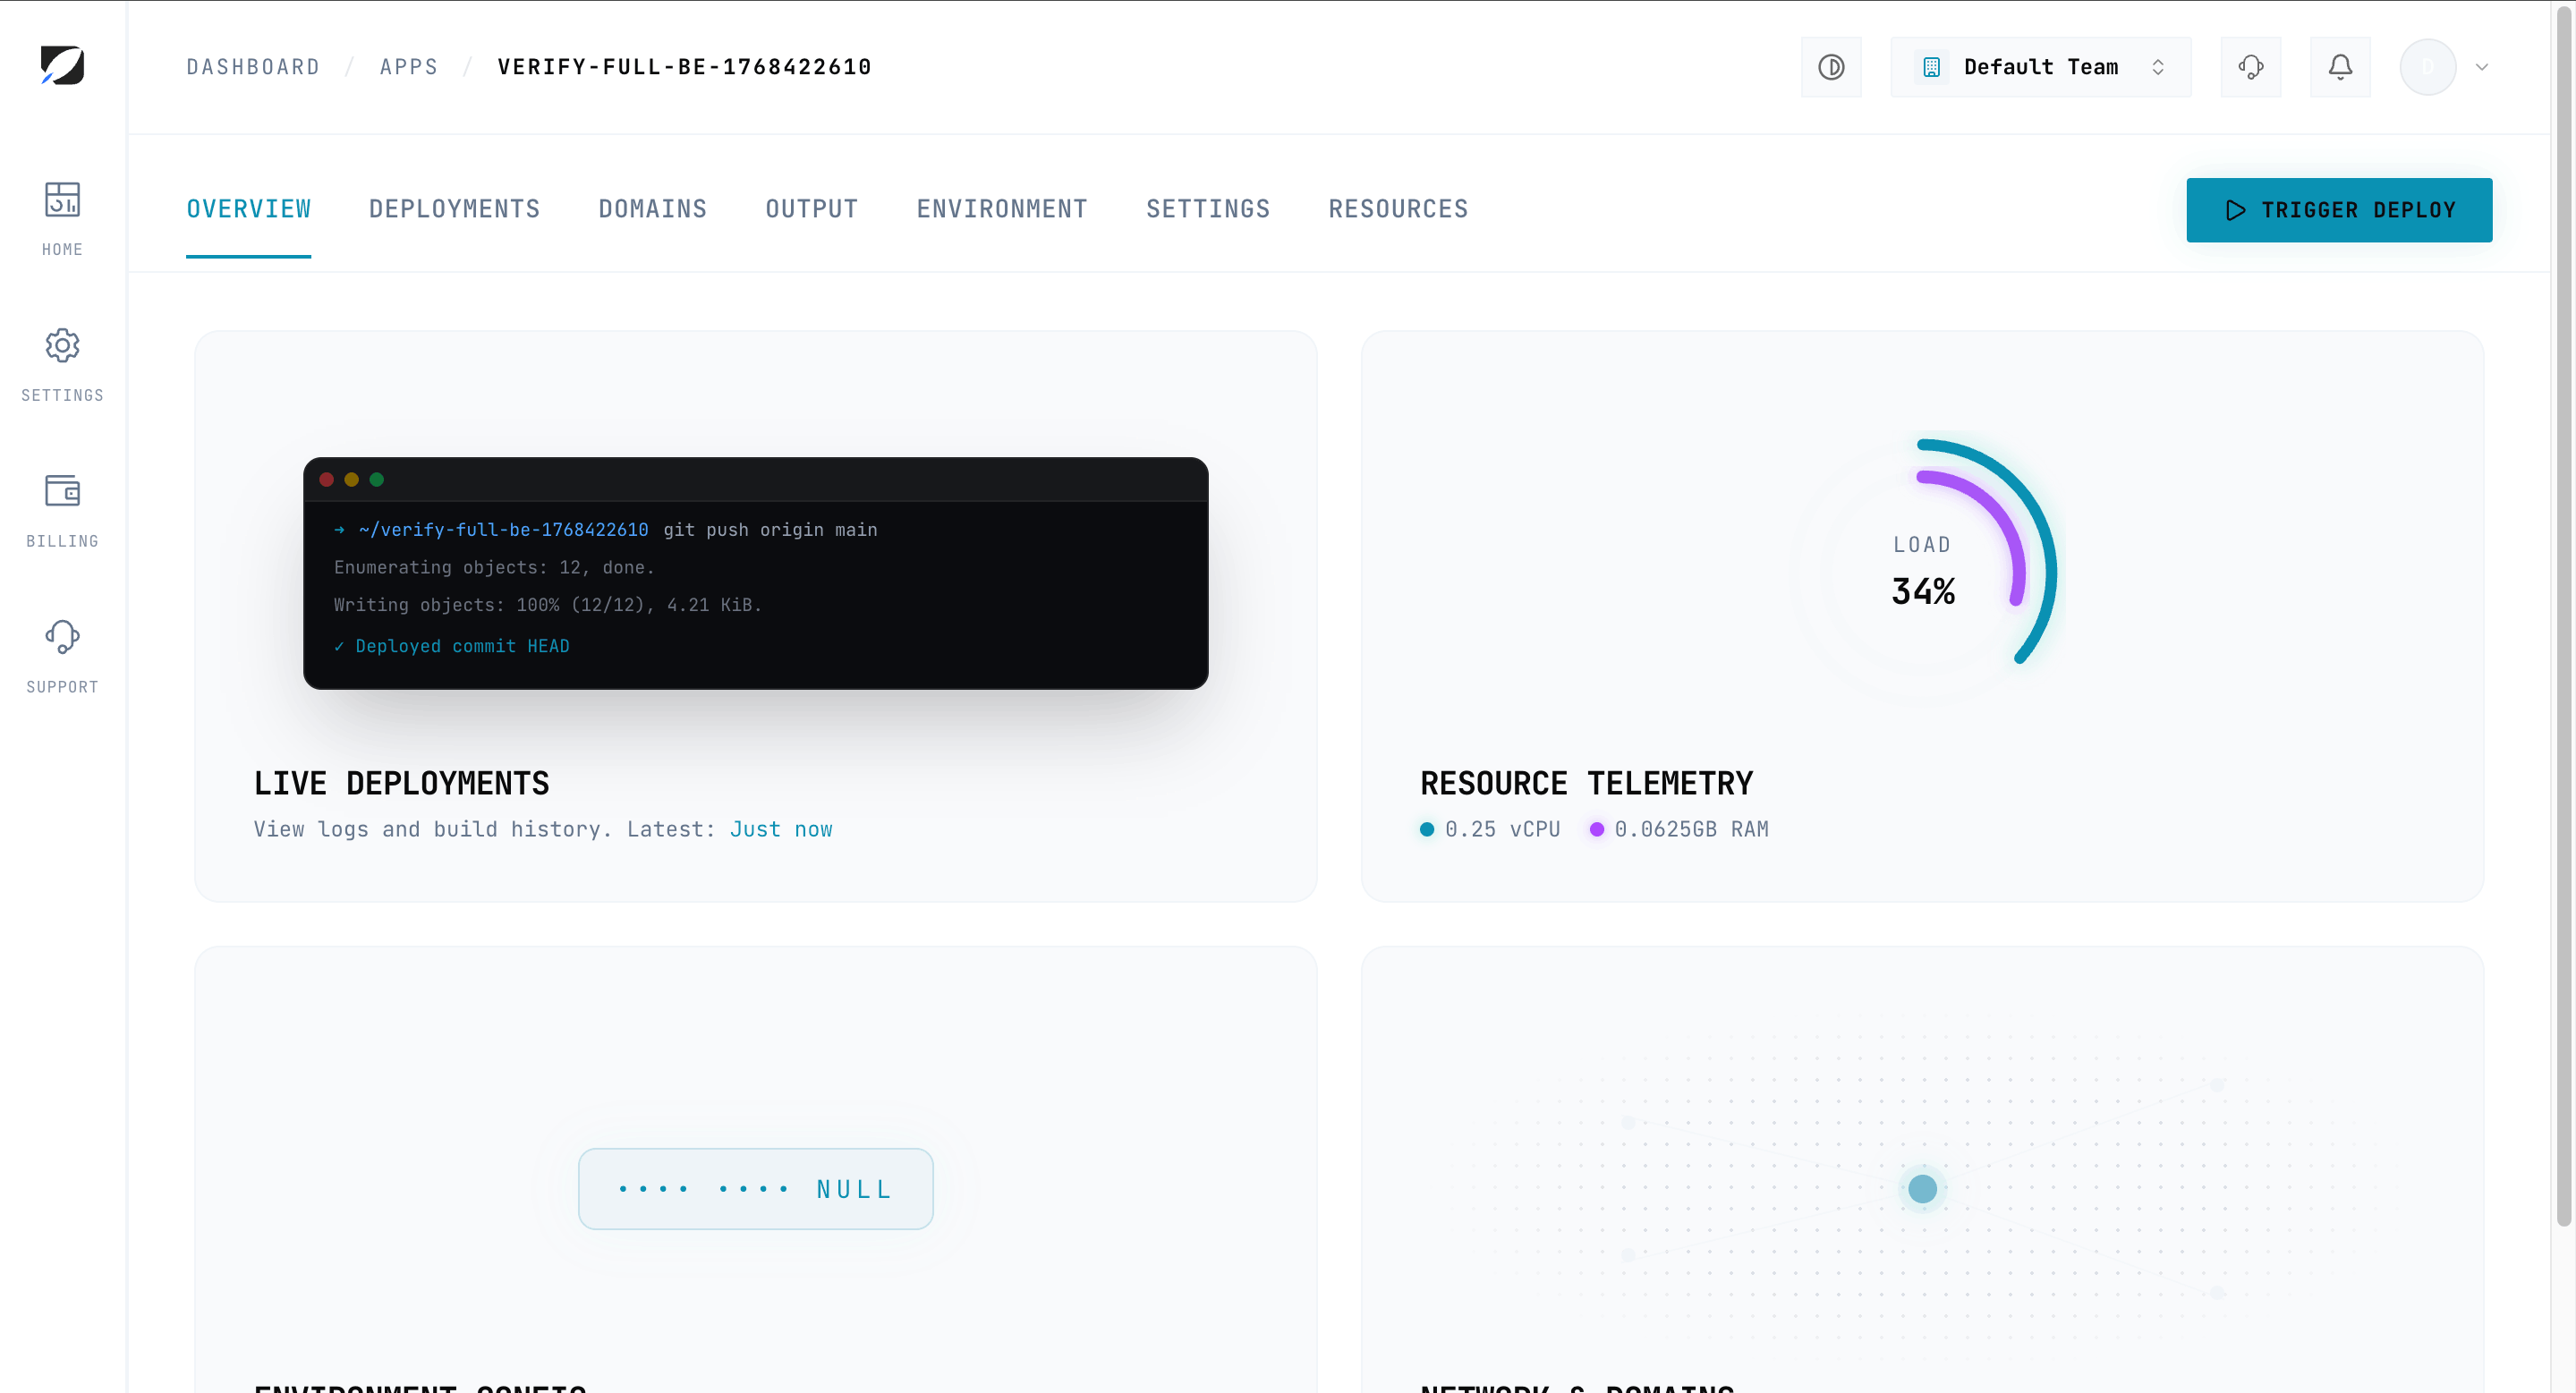
Every push to your connected branch triggers a new deployment automatically. Add a custom domain any time from the app's Domains tab.