

Custom domains & SSL
Point your own domain at your app and get automatic HTTPS certificates.
Every app gets a public URL out of the box, with HTTPS handled automatically. You can also attach your own custom domain.
Add a custom domain
Open your app and go to the Domains tab. Under Add domain, type
your domain (for example app.example.com) and press Add. OneBit shows you the
DNS record to create.
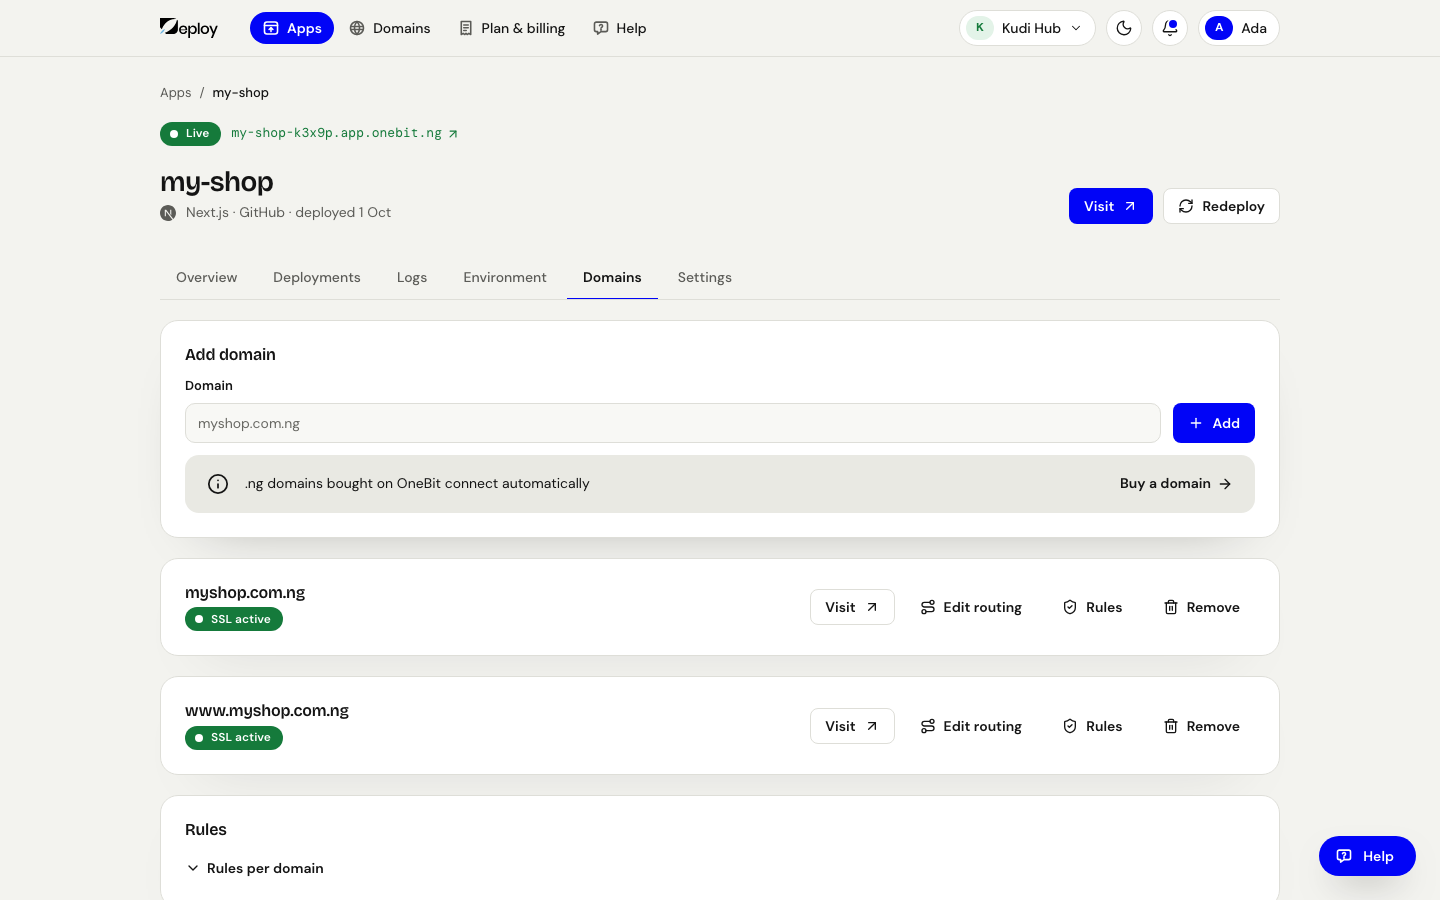
A .ng name you bought from OneBit needs no records: open Domains, open the name
and press Set target. To buy a new one, press Get one in Domains on the
same tab.
Point your DNS
At your DNS provider (the company you bought the domain from), create the record
OneBit shows (typically a CNAME for a subdomain); each value has a Copy button.
Until the record resolves, the tab says Waiting for the name to point here. Once it
does, OneBit verifies the domain, issues a TLS certificate for it, and the name shows
Secure · working. To stop using a domain, press Remove.
Automatic SSL
- TLS certificates are provisioned and renewed automatically.
- This applies to both the default app URL and your custom domains.
- You don't need to upload or manage certificates yourself.
DNS changes can take a little time to propagate. If a domain doesn't verify immediately, wait for the record's TTL and check again.